Ornament Tags
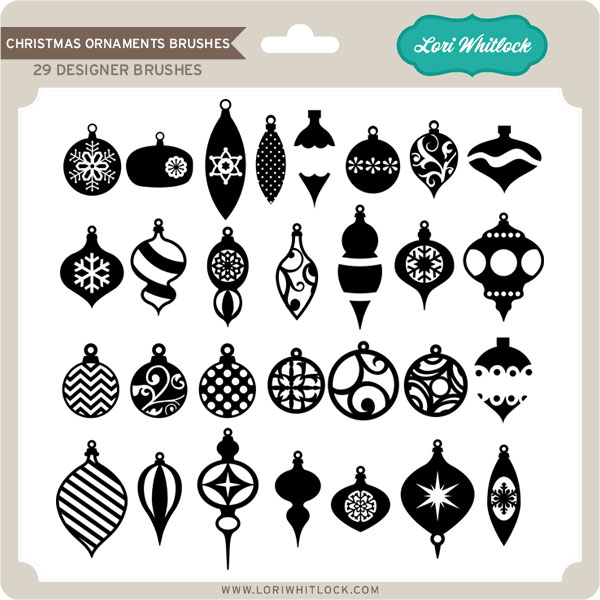
When I saw the Christmas Ornaments brush kit from Lori Whitlock, I knew I wanted to use the images with my Silhouette.
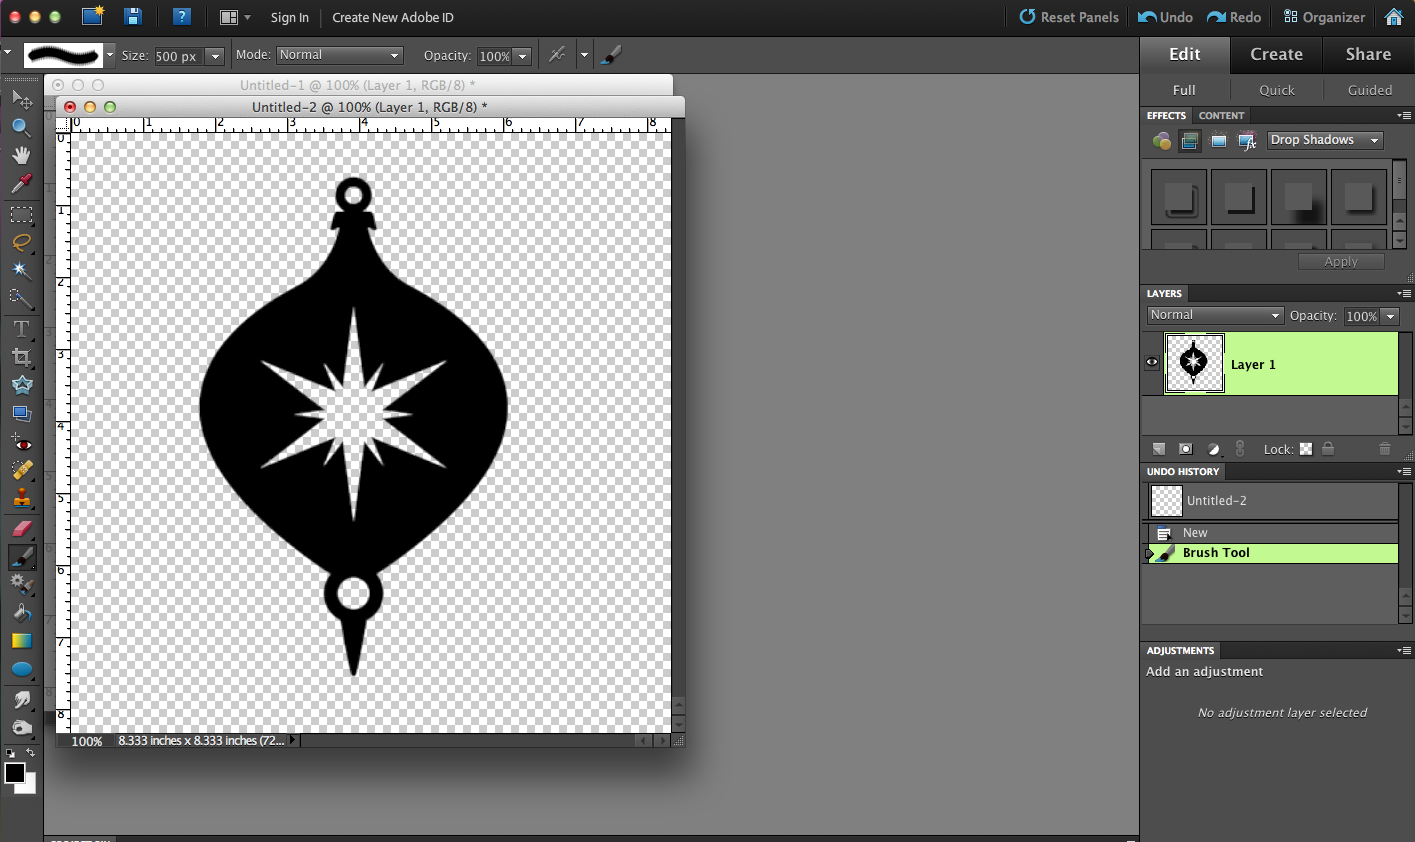
Since these are brushes and .abr files cannot be loaded directly into digital die-cutting software, I just had to change the brushes to .png files first. Here’s how I did it in PSE:
1.Create a new document 600x600 pixels at 72 ppi with a transparent background.
2.Load the Christmas Ornament brush set
3.Stamp each brush you want to use onto the blank canvas and save as a png file.
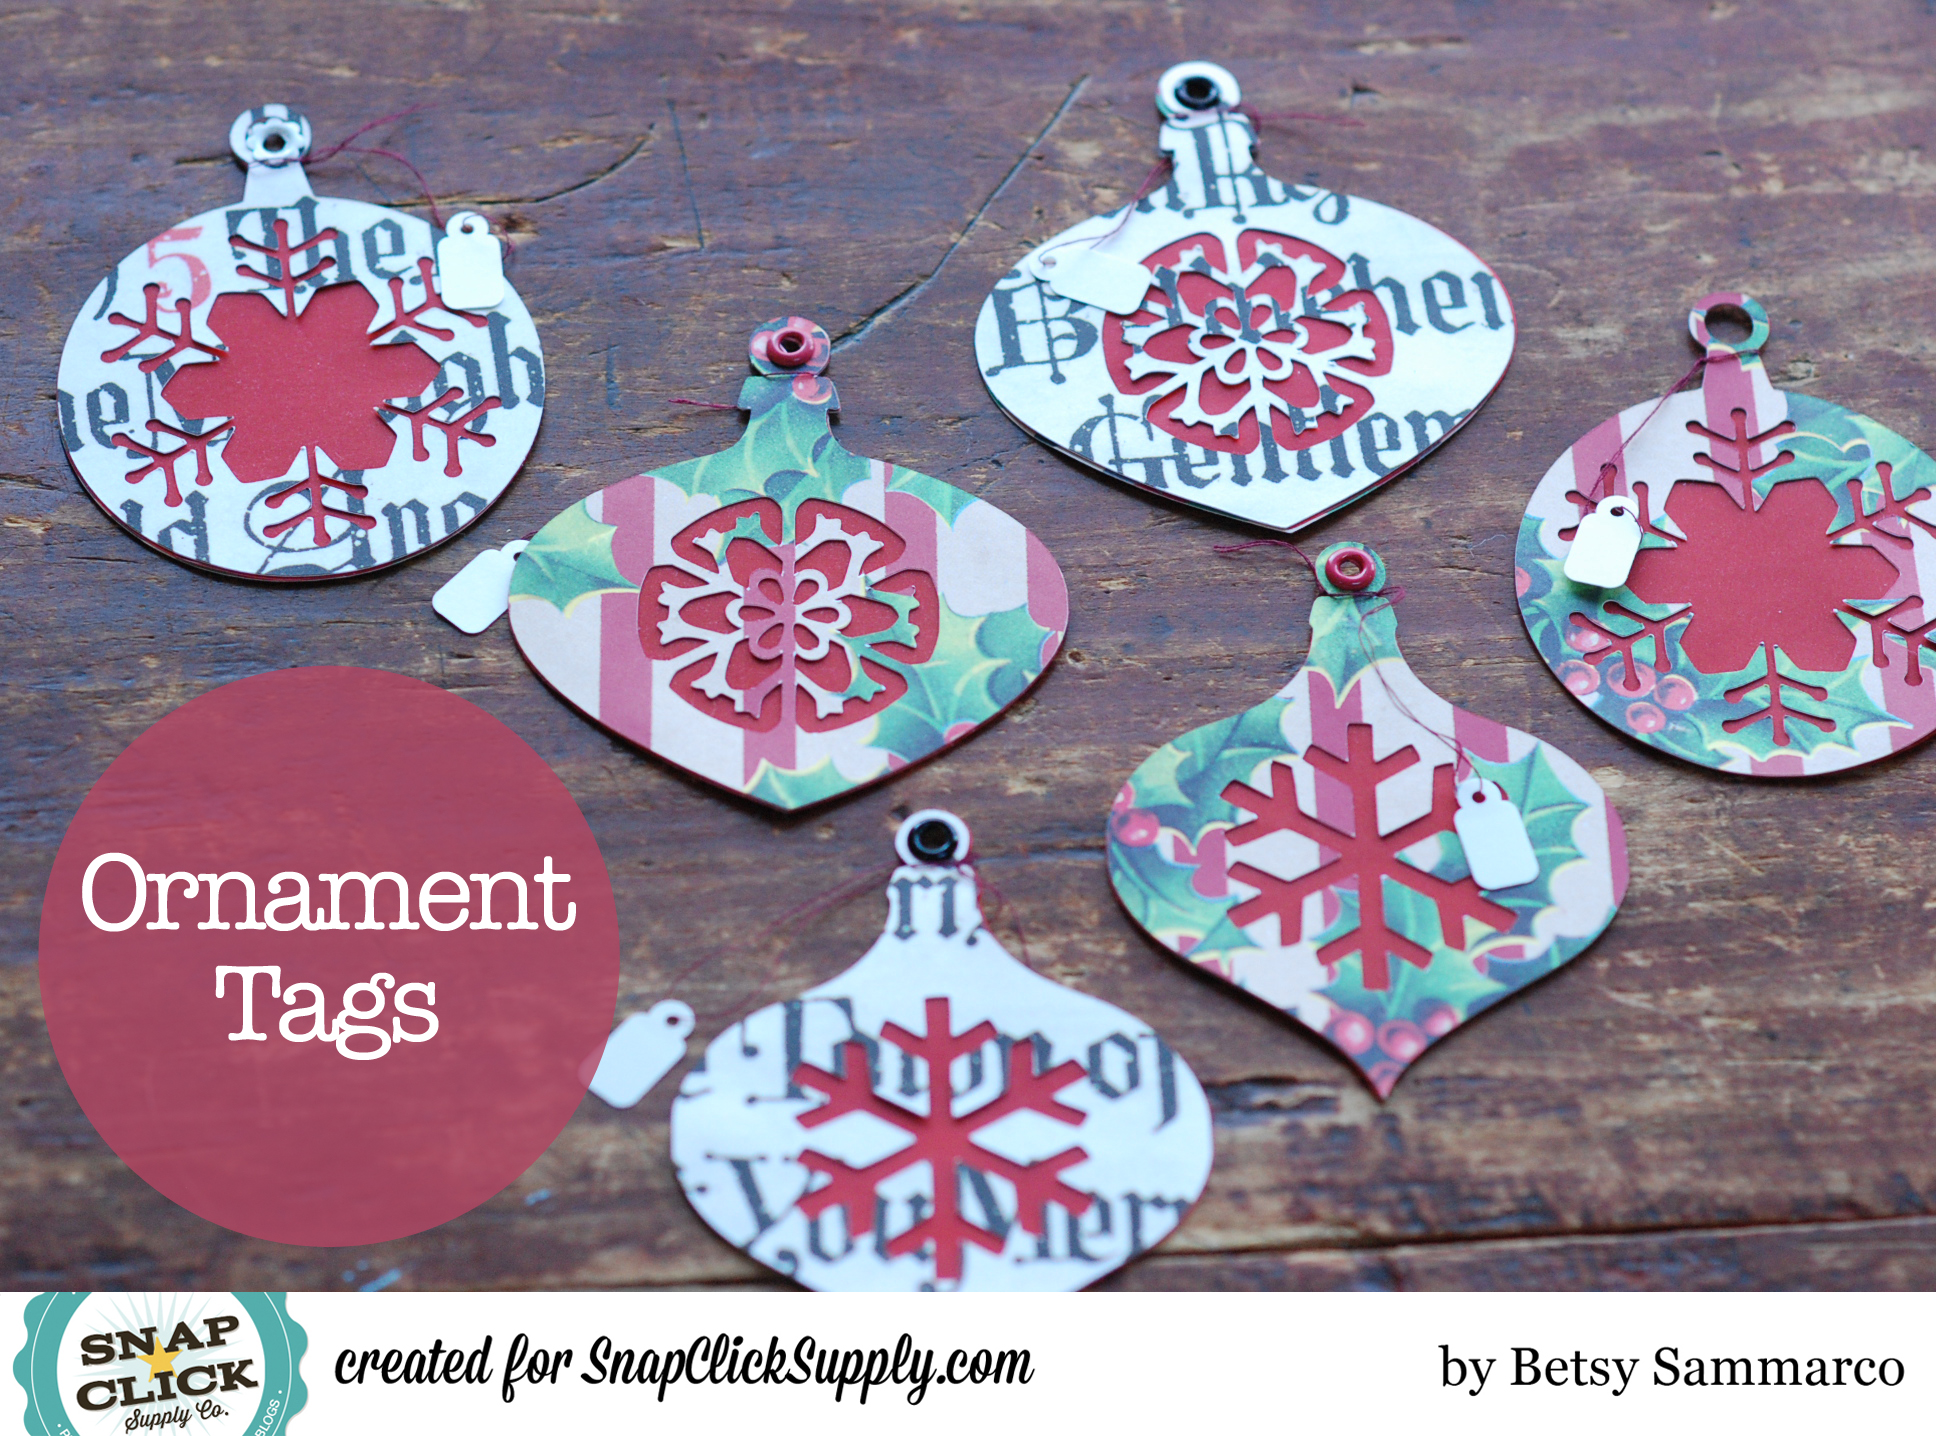
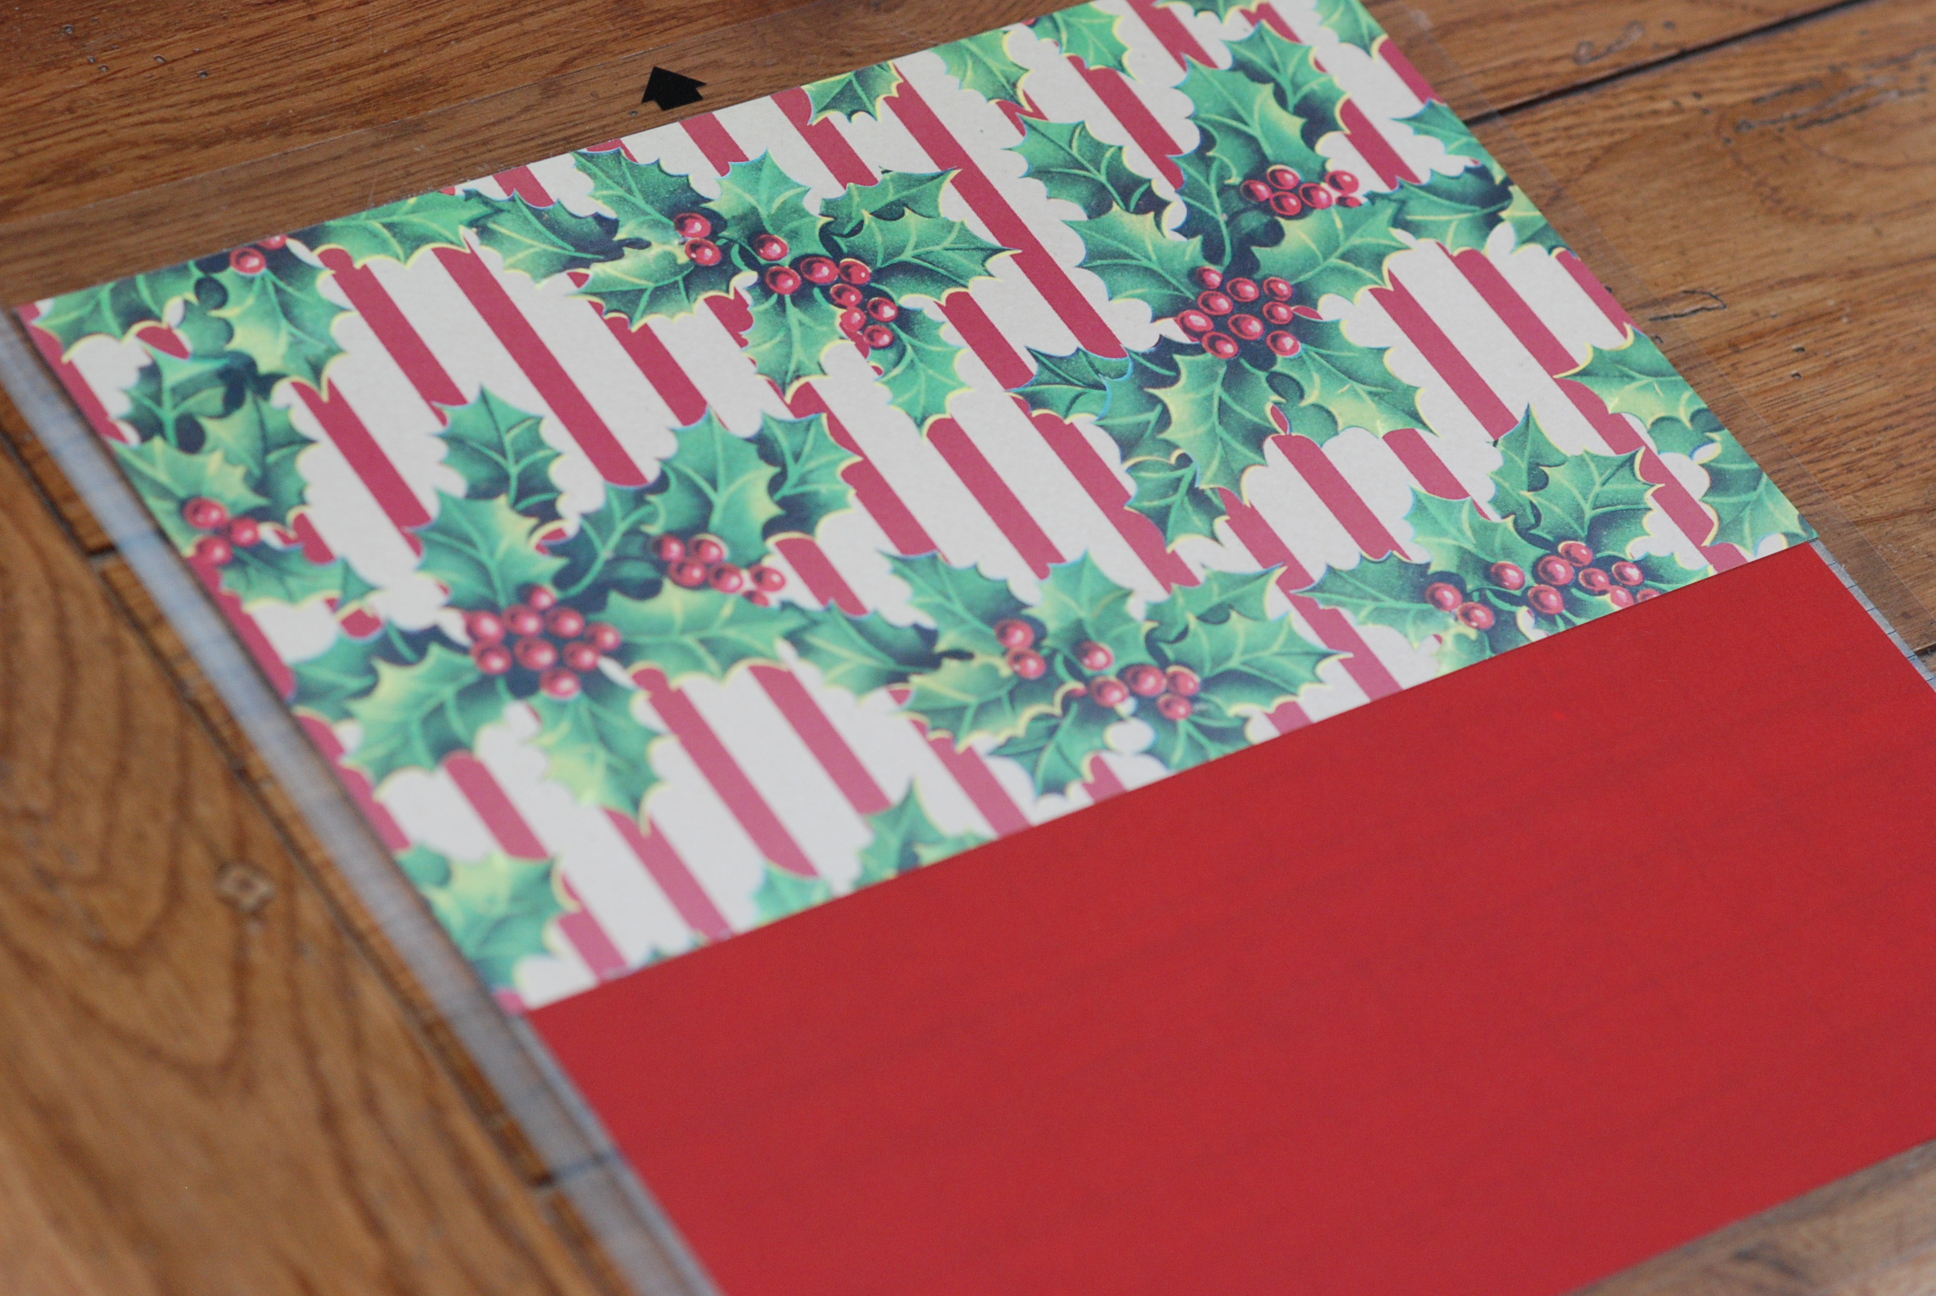
I loved the windows and openings in Lori’s designs and wanted to create layered tags using cardstock and vellum in my Silhouette.
The png files can be dragged onto the Silhouette canvas and the image trace function used to create your cutting lines.
I then resized my cutting image to the size I needed, copied and pasted the image, and flipped the second image horizontally. These will be the 2 cardstock cuts that will be the outside pieces of the ornament tags.
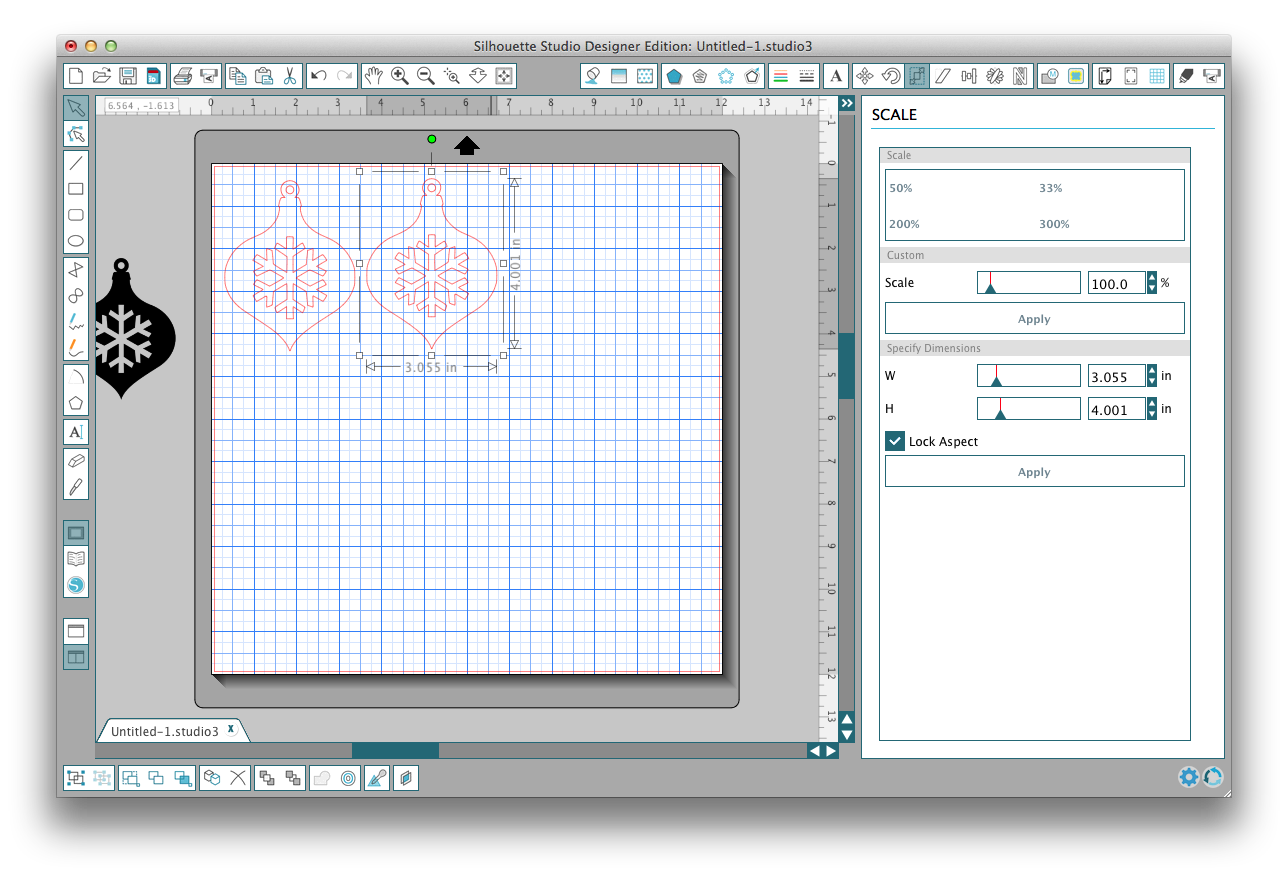
The vellum is cut from the solid outline of the ornament. There are many ways to do this, but I simply copied an ornament image and used the eraser tool to erase the interior cutout portion.

I placed all the images I wanted to use on my canvas and set them up so the cuts for the cardstock are grouped on the top and the cuts for the vellum are grouped on the bottom.
After cutting, the layers are sandwiched together. The vellum layer is sandwiched in-between the two cardstock layers.
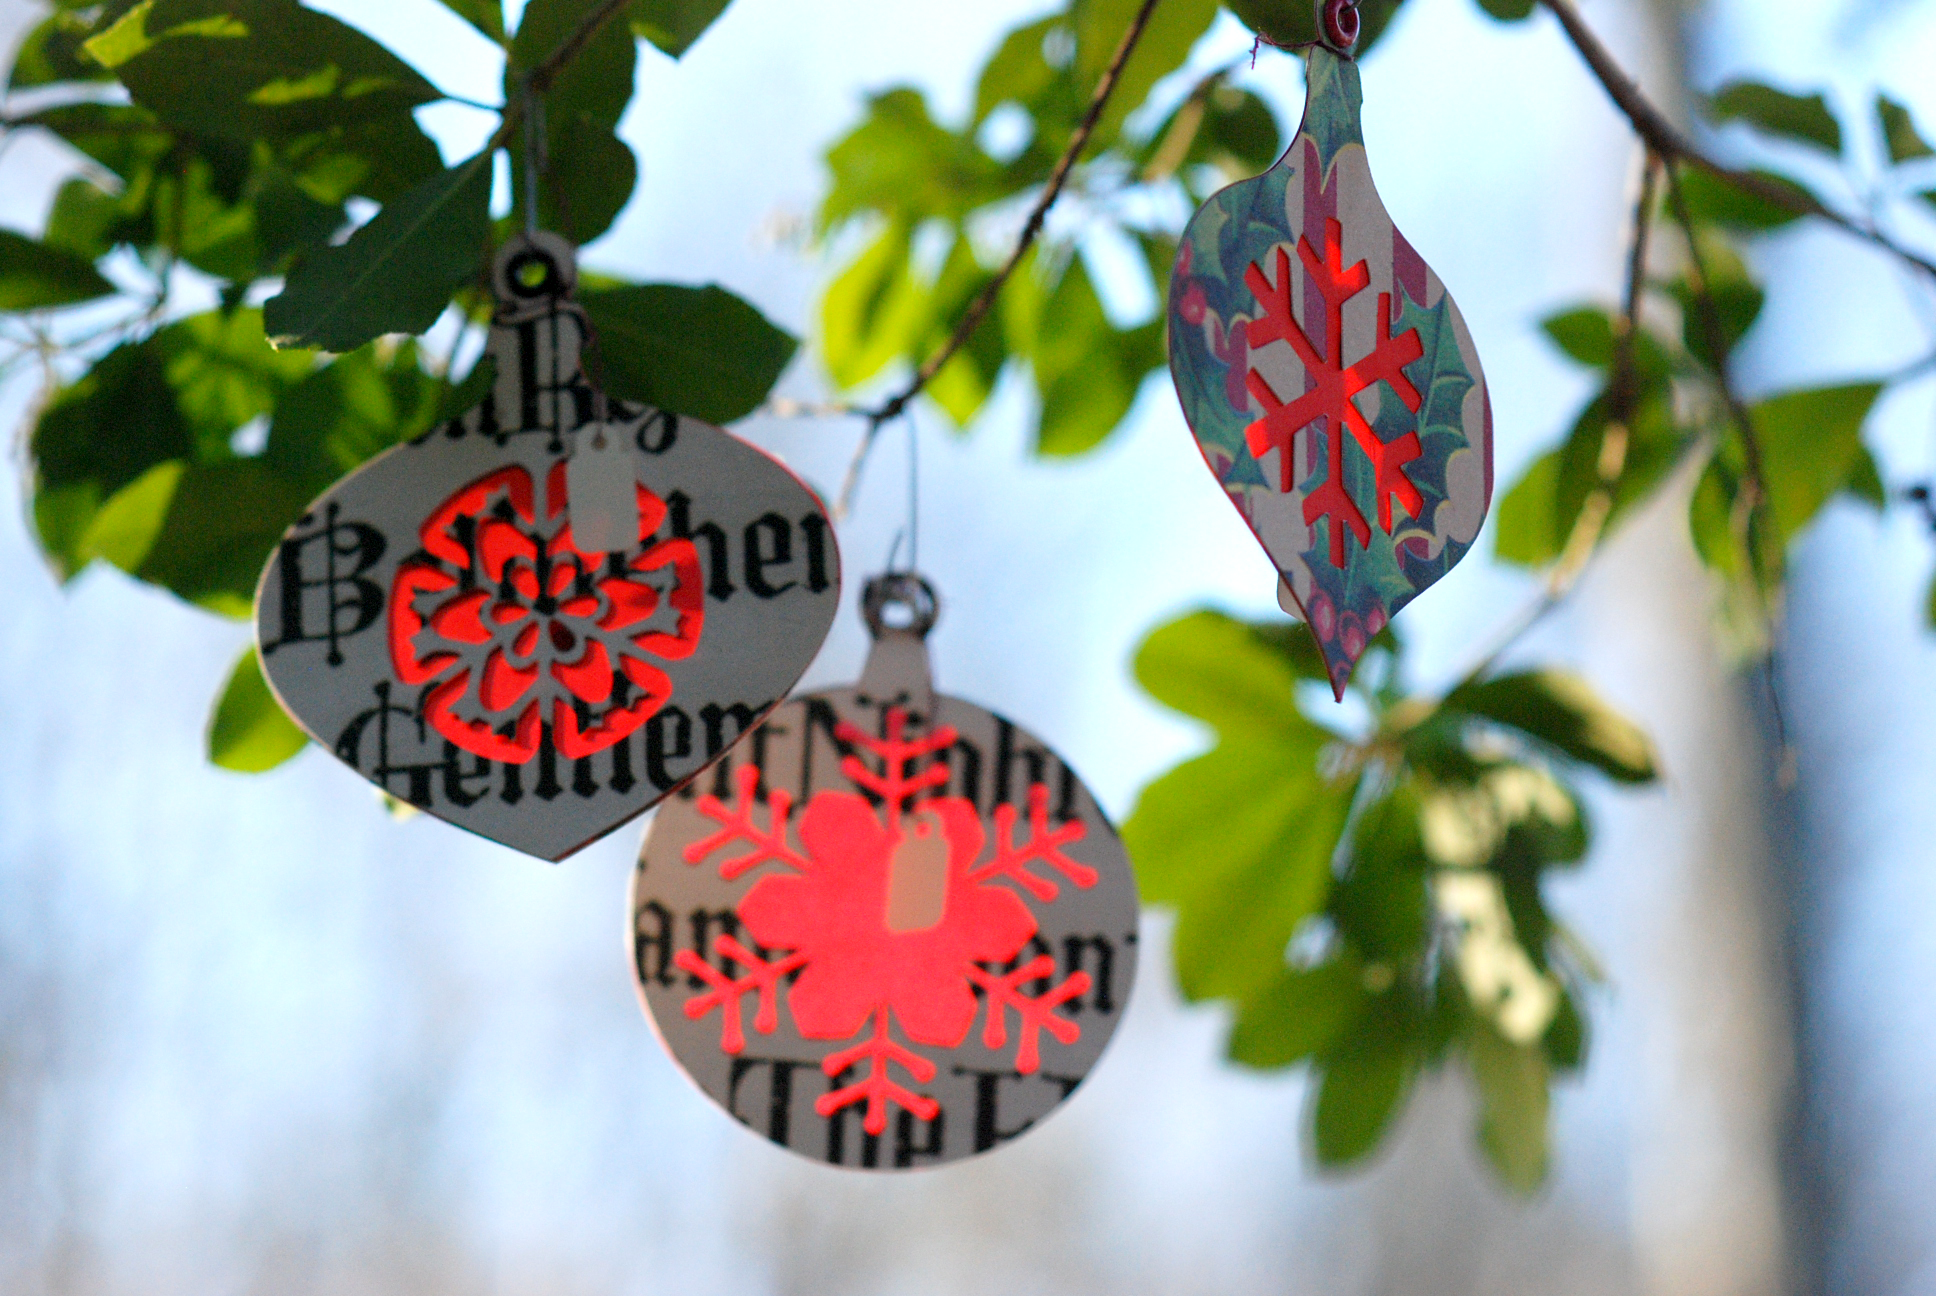
I will be using these as gift tags and added a jewelry tag for writing names.
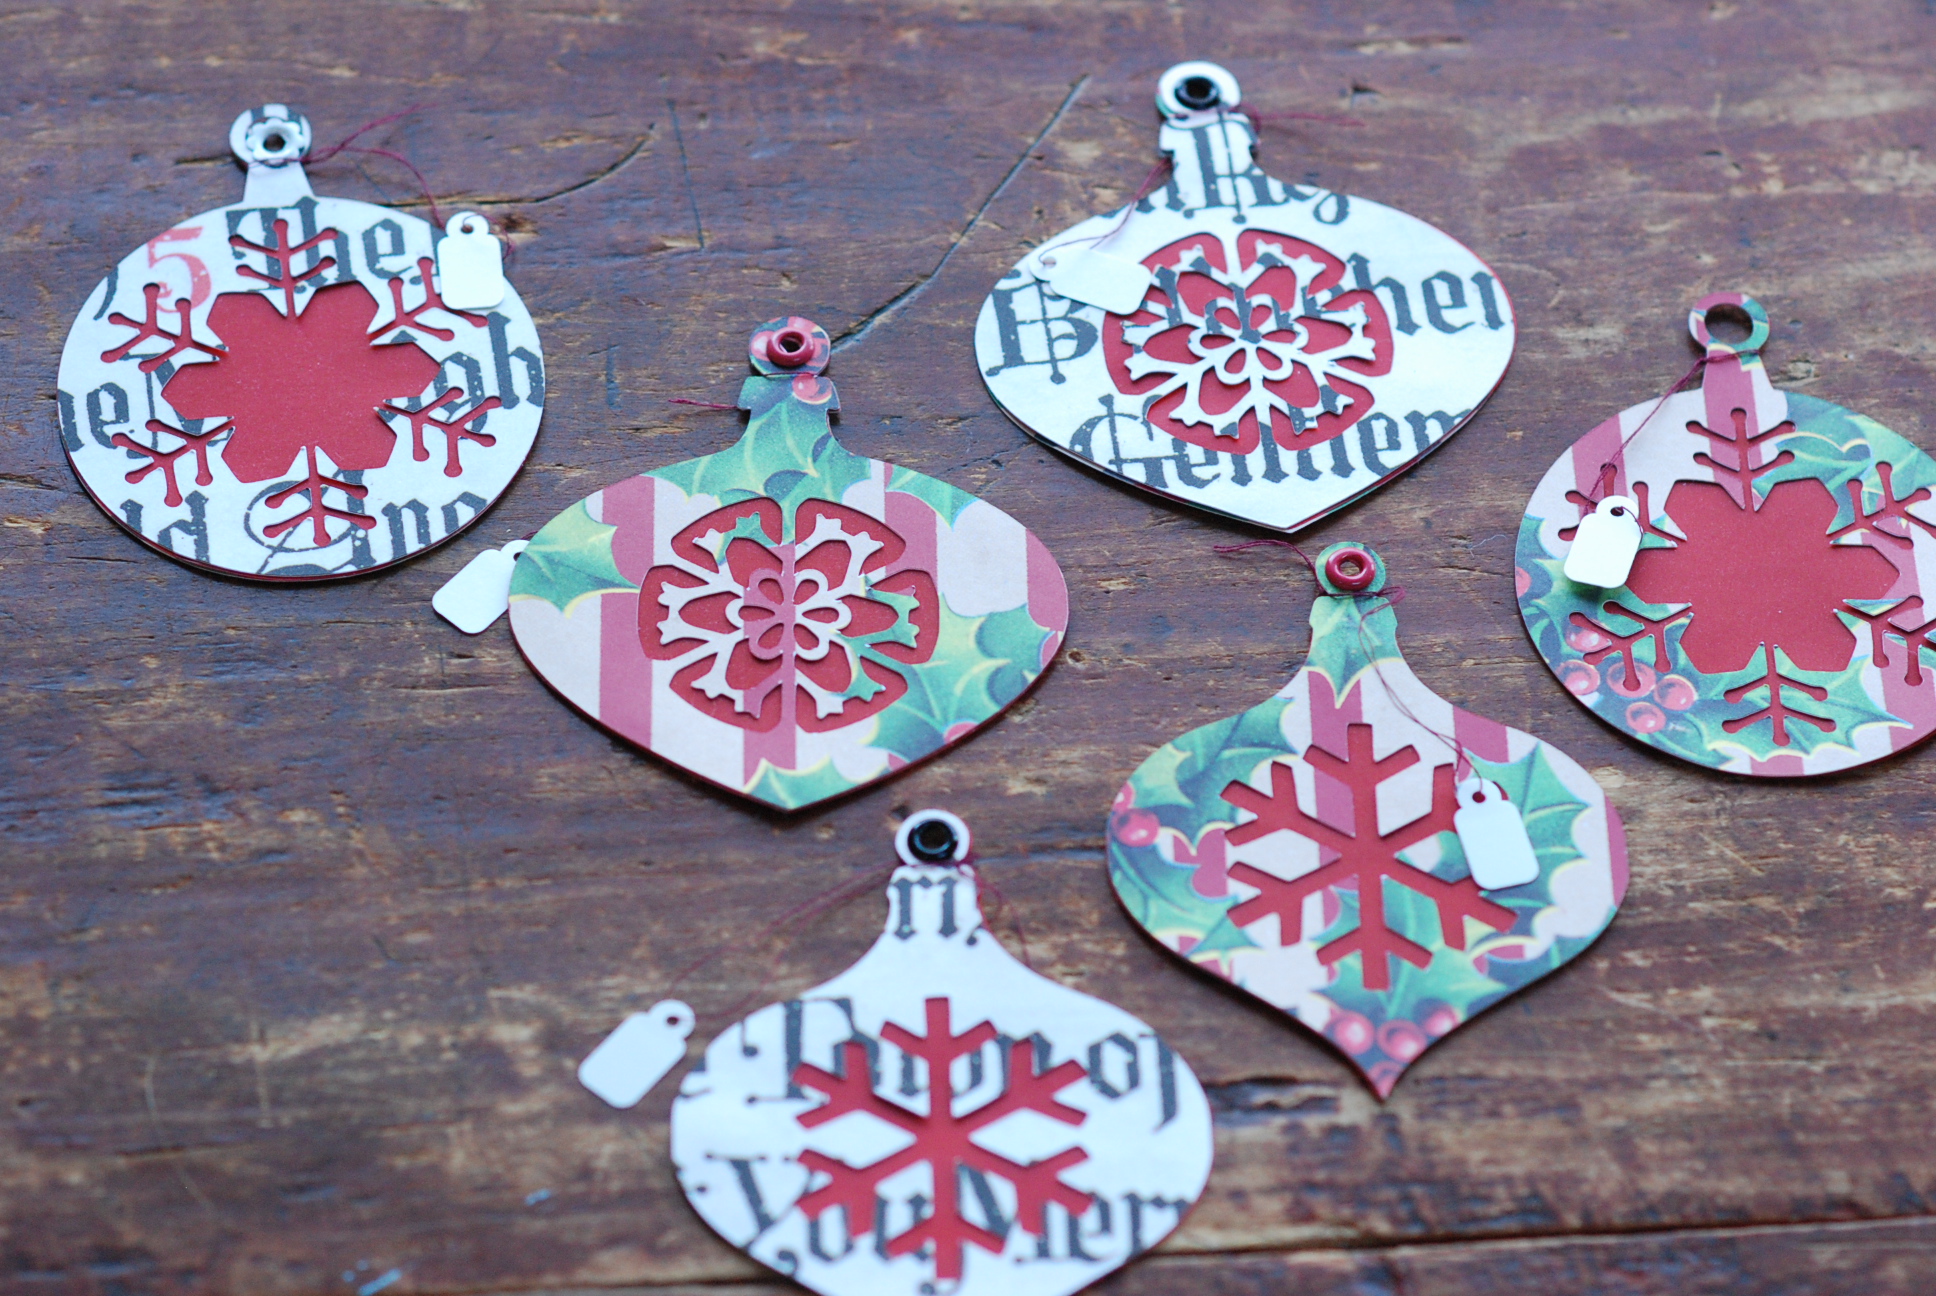
Since the windows of the ornament tags are vellum, they look so pretty against a window or in the Christmas tree against the lights.